equipment | YOUR starter pack
This is about everything you need to start your climbing career. Depending on your area of choice, Bouldering or Climbing, the invest varies massively. While bouldering is less capital intensive, Climbing, particularly outside and in traditional areas (excluding alpine and bigwall climbing) can be very costly and easily far beyond the 2.000€. But let’s start with the easy version:
Bouldering
-
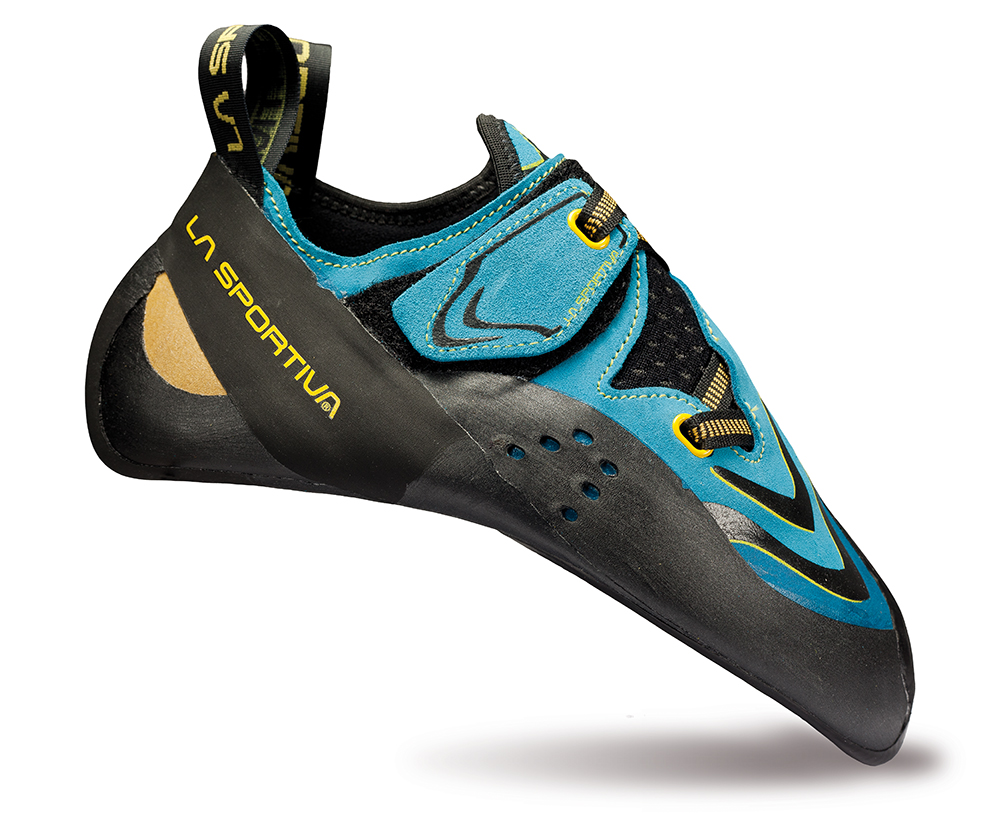
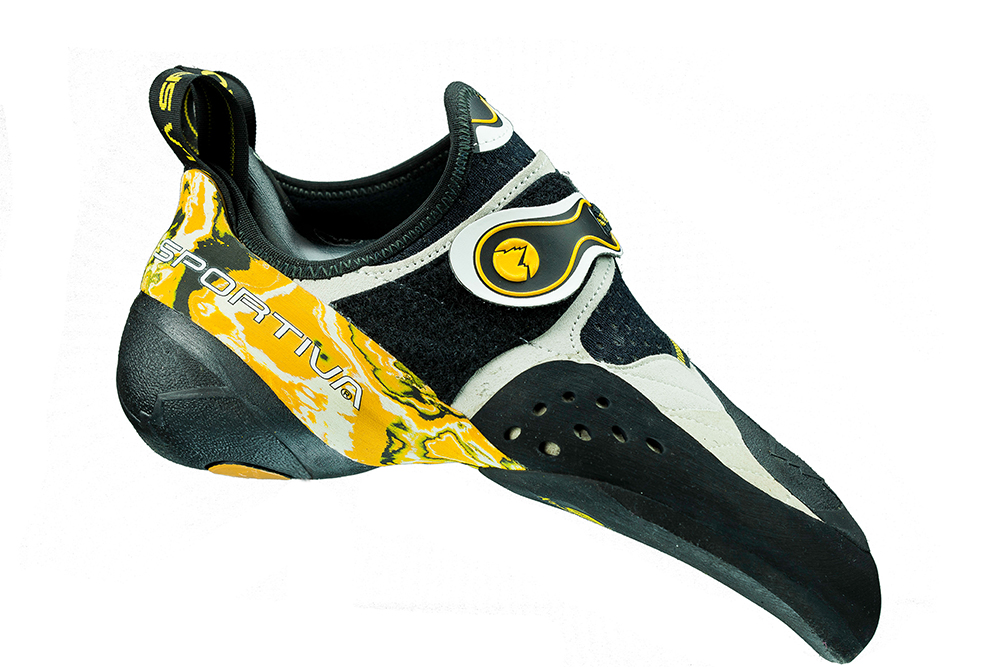
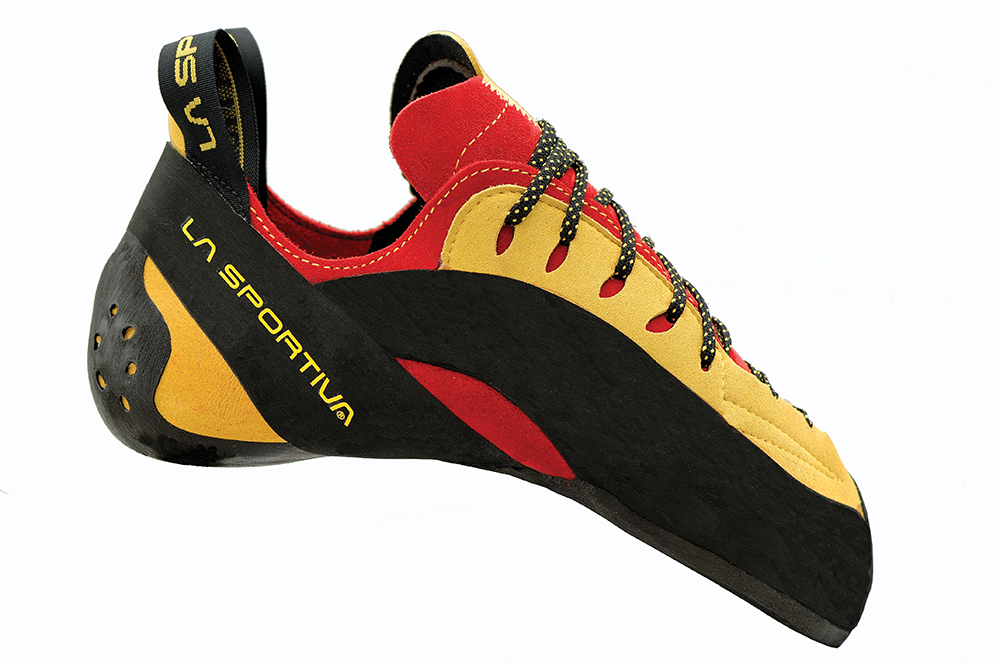
In general bouldering is much more versatile and athletic than climbing. For your shoes that means they should be able to support you along the whole style range: toe and heelhooks, jams, small ledges, sharp edges, slaps, etc. The shoe can be tighter and much more aggressive than your climbing shoe as if necessary you can take them off after each boulder and just need them for 30-60 seconds, max 5min if it’s a really tough and high one. You can identify the aggressive shoes by their banana-like form from the side. Make sure the heel is well covered with rubber as well as the upside of the front foot.
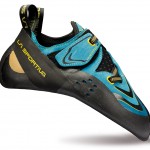
- Futura | LaSportiva

- Miura | LaSportiva
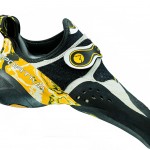
- Solution | LaSportiva
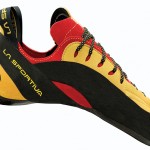
- Testarossa | LaSportiva
More under: La Sportiva -
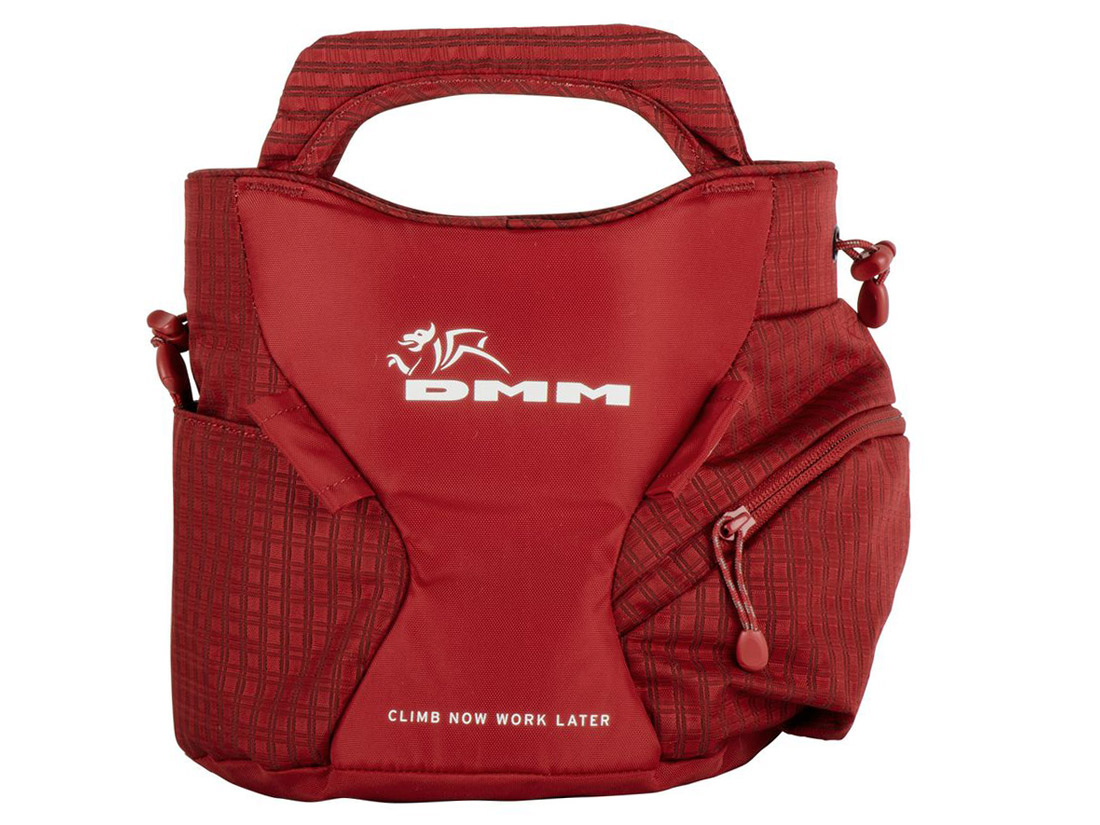
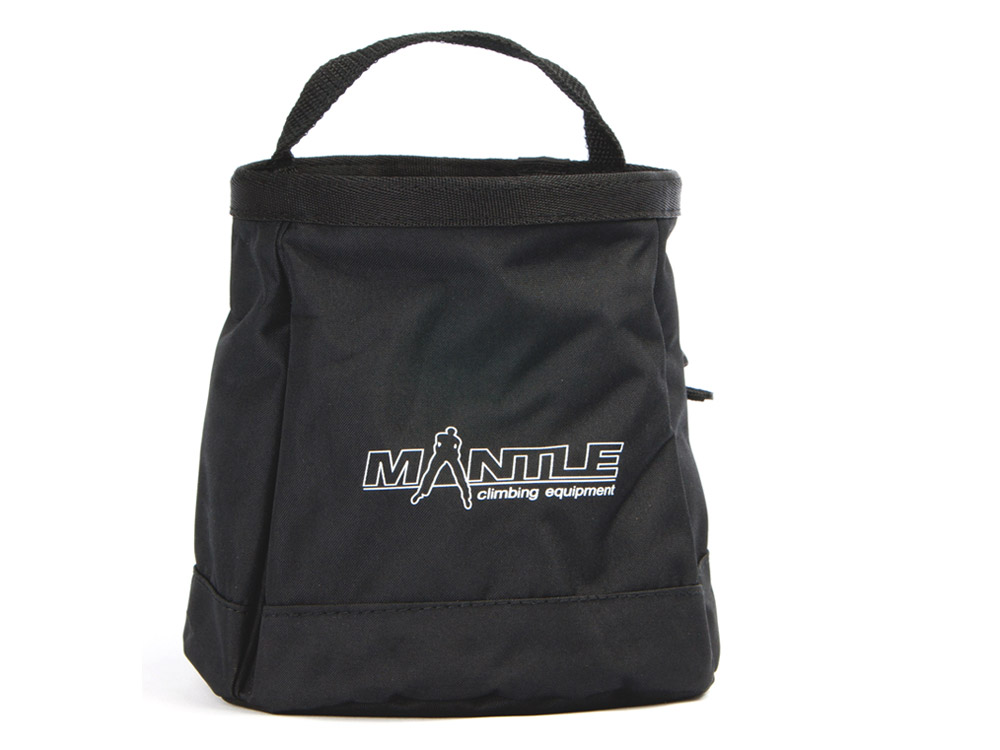
This might seem a little odd, of course you can use your chalkbag from climbing, but I would suggest a different approach. Take one of the special bouldering chalkbags. The difference is the size. While at climbing the chalkbag is attached to a cord around your waist, during bouldering you don’t necessary need to carry the chalkbag with you during the boulder, but you might need much more chalk and have a few accessories (like the brush, tape and other stuff you can store in the chalkbag.
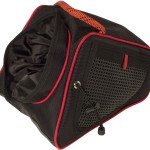
- chalkbag | AGaudi
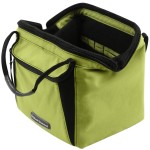
- chalkbag | BlackDiamond
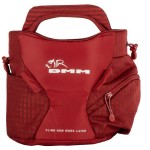
- chalkbag | DMM
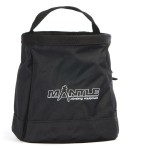
- chalkbag | Mantle
More under: Bergfreunde.de -
Back in the days when I started with bouldering around 20 years ago, we used normal toothbrushes to clean little holds in the woods, or used large cleaning or steel brushes for the tougher work. This sounds romantic but had a little downside, a) the steel brushes still in use today, destroy not only the moss or dirt on the rock but also the integrity of the rock itself, b) the toothbrushes were actually a bit too small and even the hard ones not good enough to clean the holds from rubber dirt and chalk. So the bouldering industry decided to take action and develop dedicated brushes. Key features compared to toothbrushes are: they are broader, longer and with tighter brush-settings.
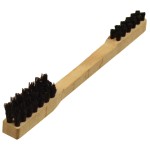
- brush | Mantle Natural
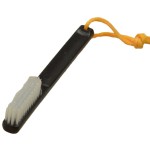
- brush | Mantle Nylon

- brush | Metolius
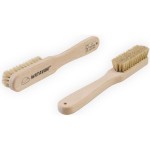
- brush | Wataaah
More under: Bergzeit.de -
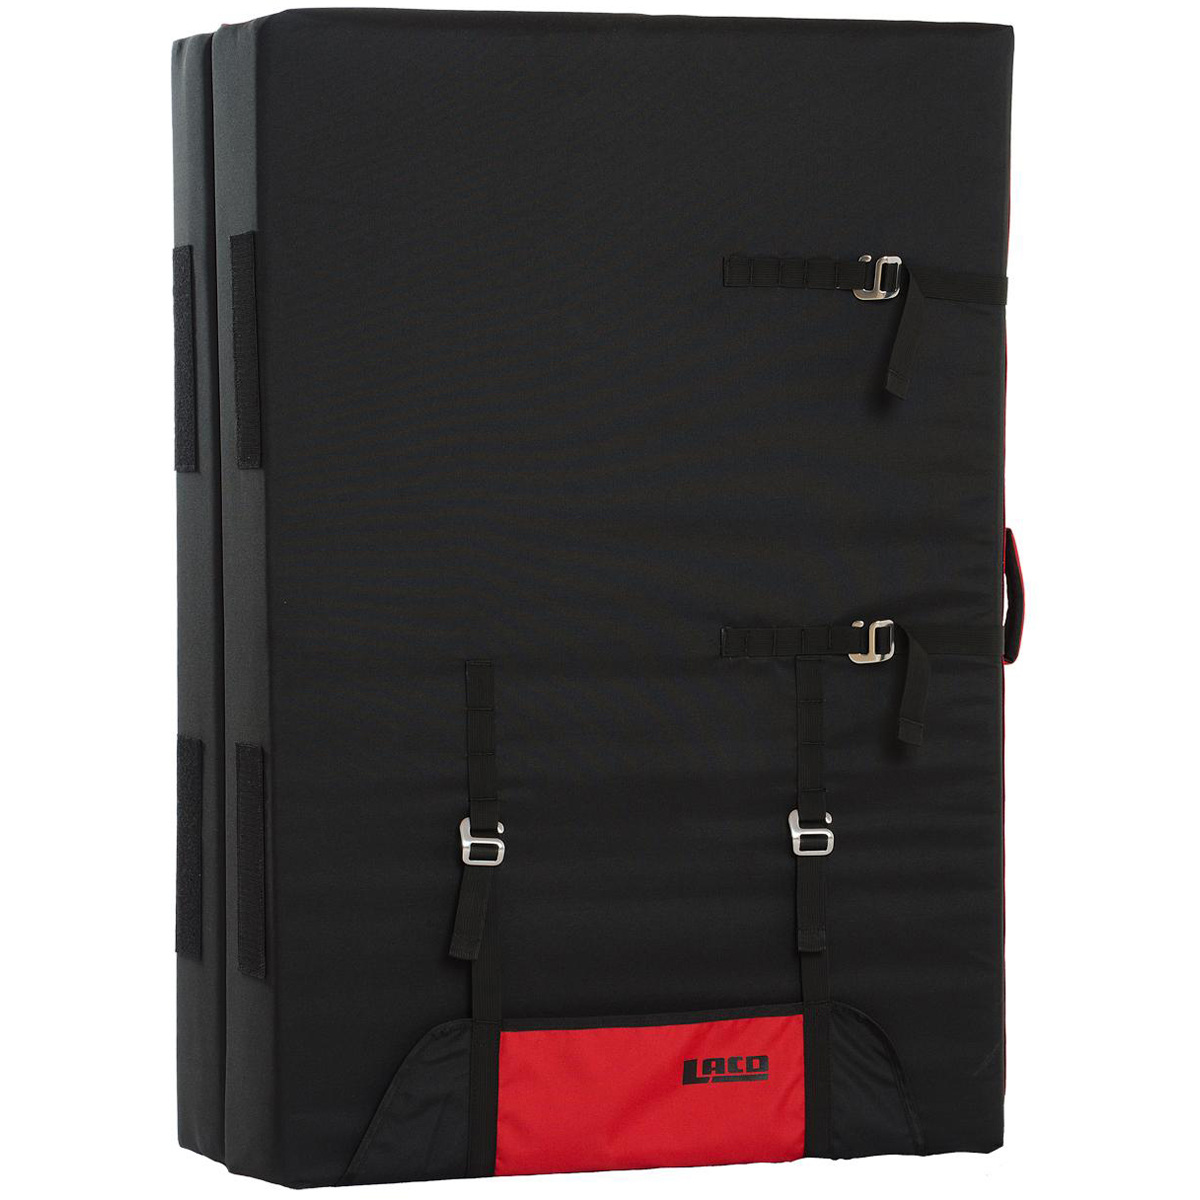
The crashpad is only needed outside of course, but there unequally more important. 20 years ago, we didn’t have the comfort of protection no matter how high the highball, climbing cuel de chien in Fontainebleau without crashpads is completely unthinkable for today’s boulderers, but a reality to us, back in the days. Nevertheless I fully support the use of crashpads in bouldering and to be honest I sometimes find myself walking through the High Sierra with 3 Crashpads on my back. When buying a crashpad test it first. If it is too firm it’s not of much use, same applies to a crashpad that’s too soft. In general take a look at the layering inside the pad, it should have a thinner harder layer, a thicker medium hard layer and again another harder layer. In general most of the big brand pads are reliable and high quality enough. No name ones should be compared to one of the pads in the pictures below. I personally favour the Edelrid, but have used several others, including PAD crashpads and BEAL pads. In Bishop I prefer to have 3 with me, In Fontainebleau 2 are enough, same applies in my view to the Grampians, but that’s all subjective. You should have at least one!
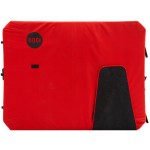
- Crashpad | Moon
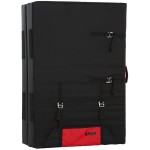
- Crashpad | LACD

- Crashpad | Edelrid
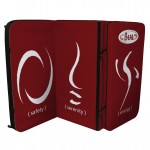
- Crashpad | Beal
More under: Bergzeit.de


Climbing – Basics
This is the bare bone basics you need when starting to climb indoors. In some cases you do not even need Quickdraws or slings as most climbing gyms provide fixed quickdraws already and you do not need to build a belay station. So you can skip those parts.
-
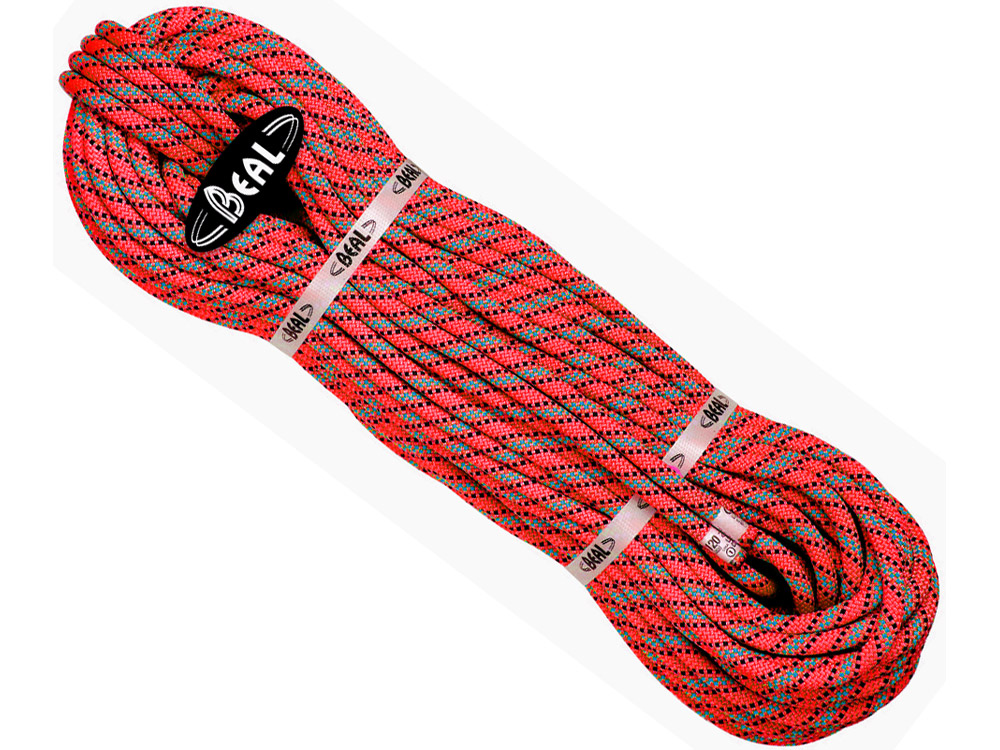
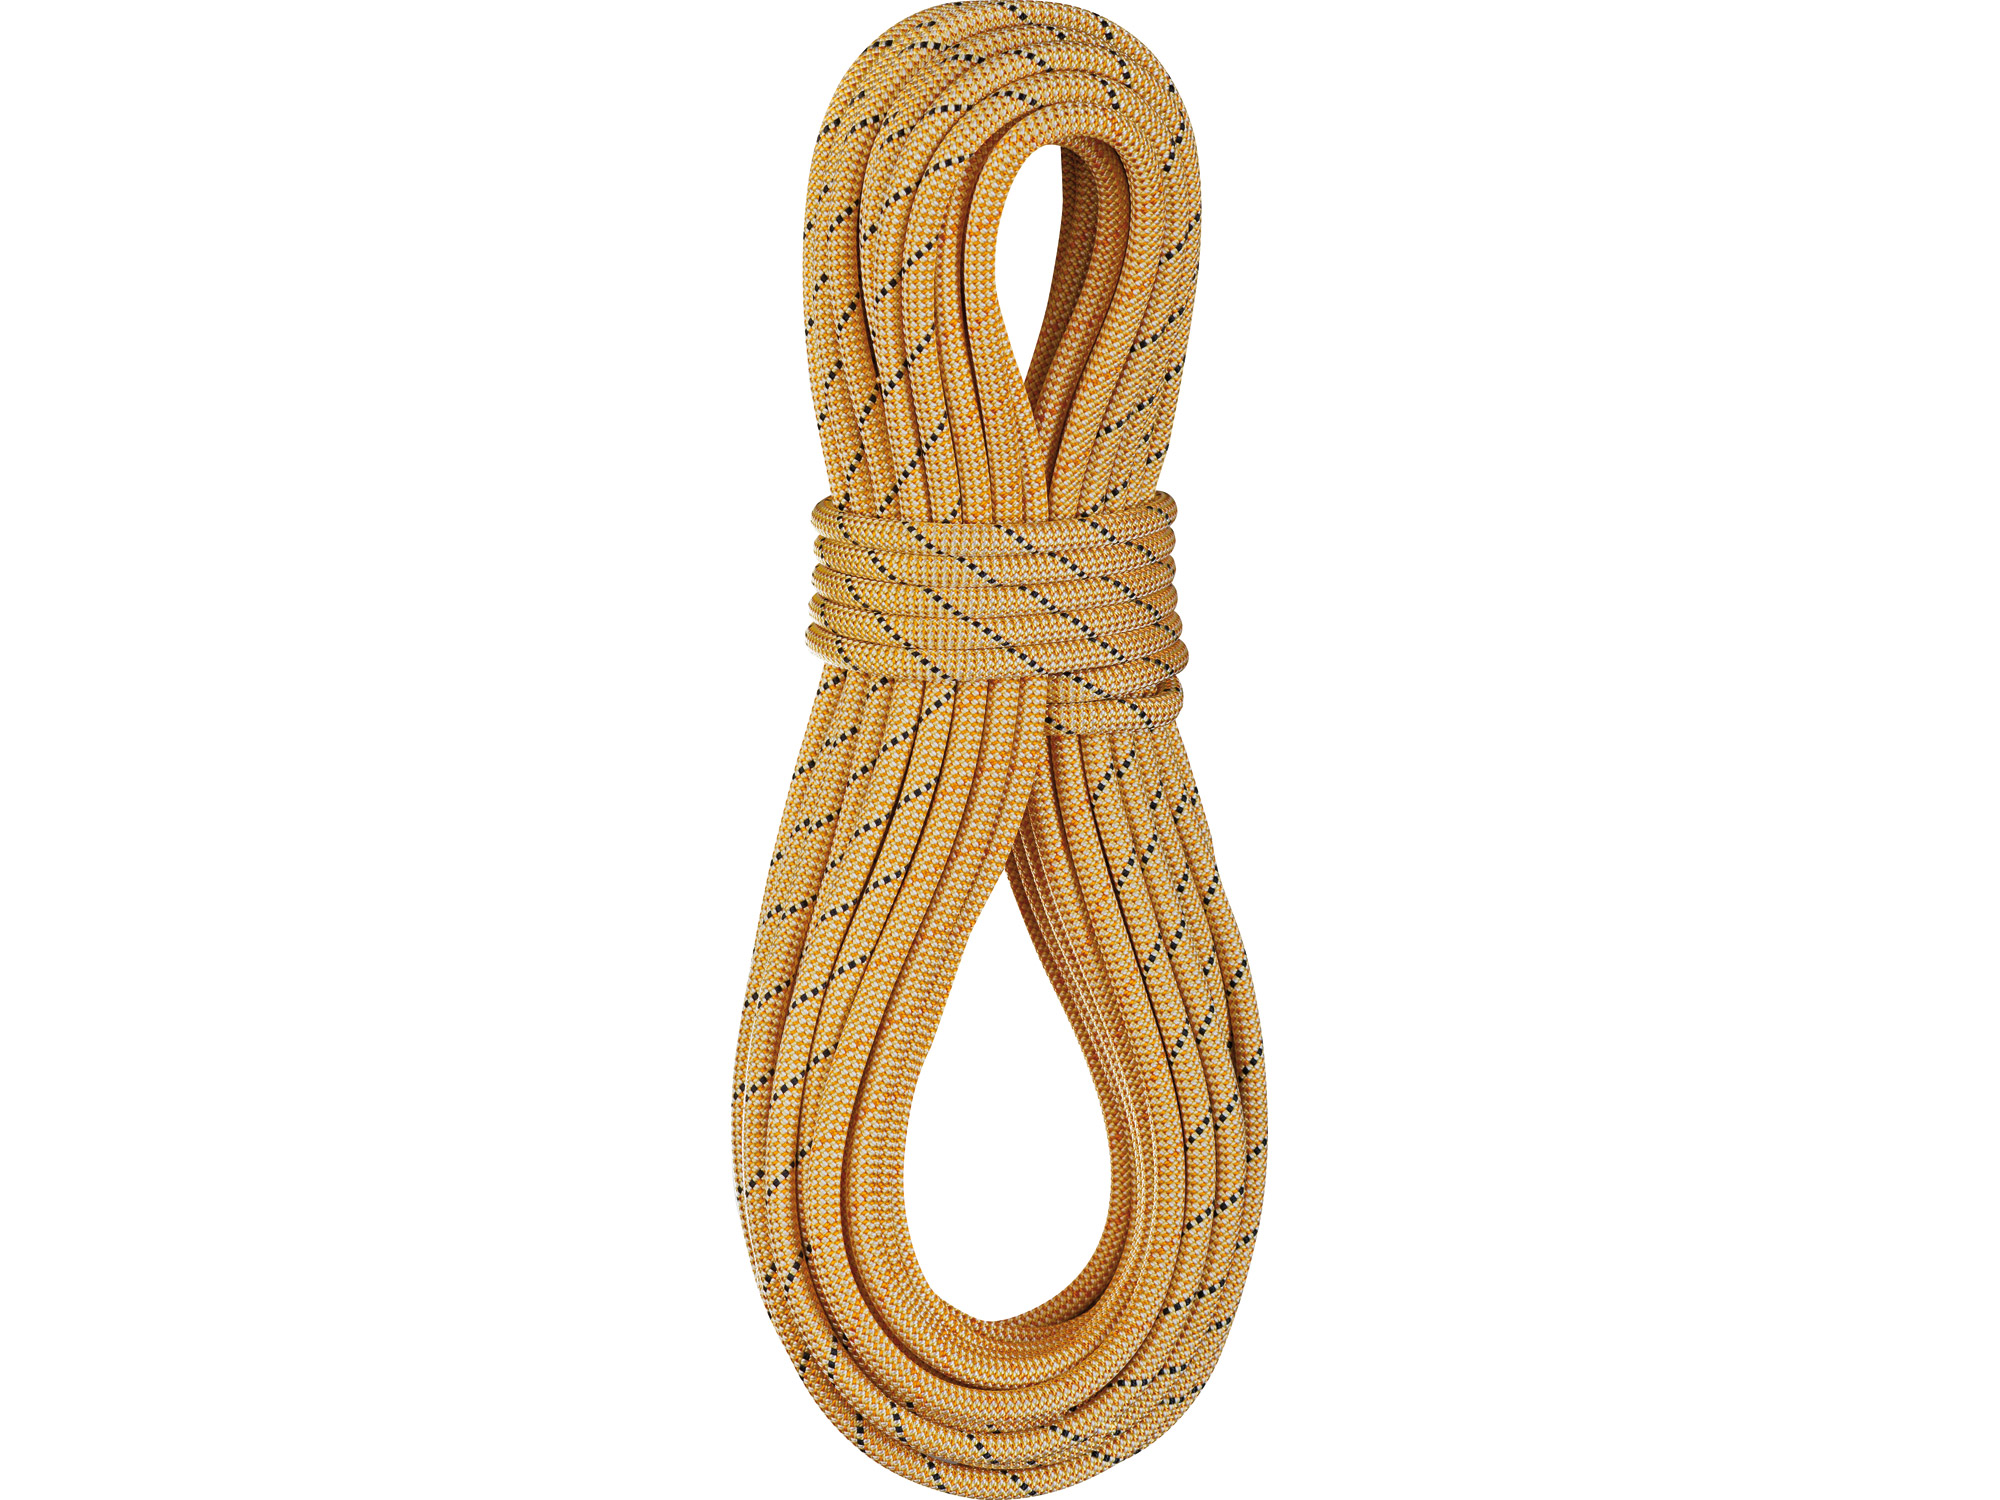
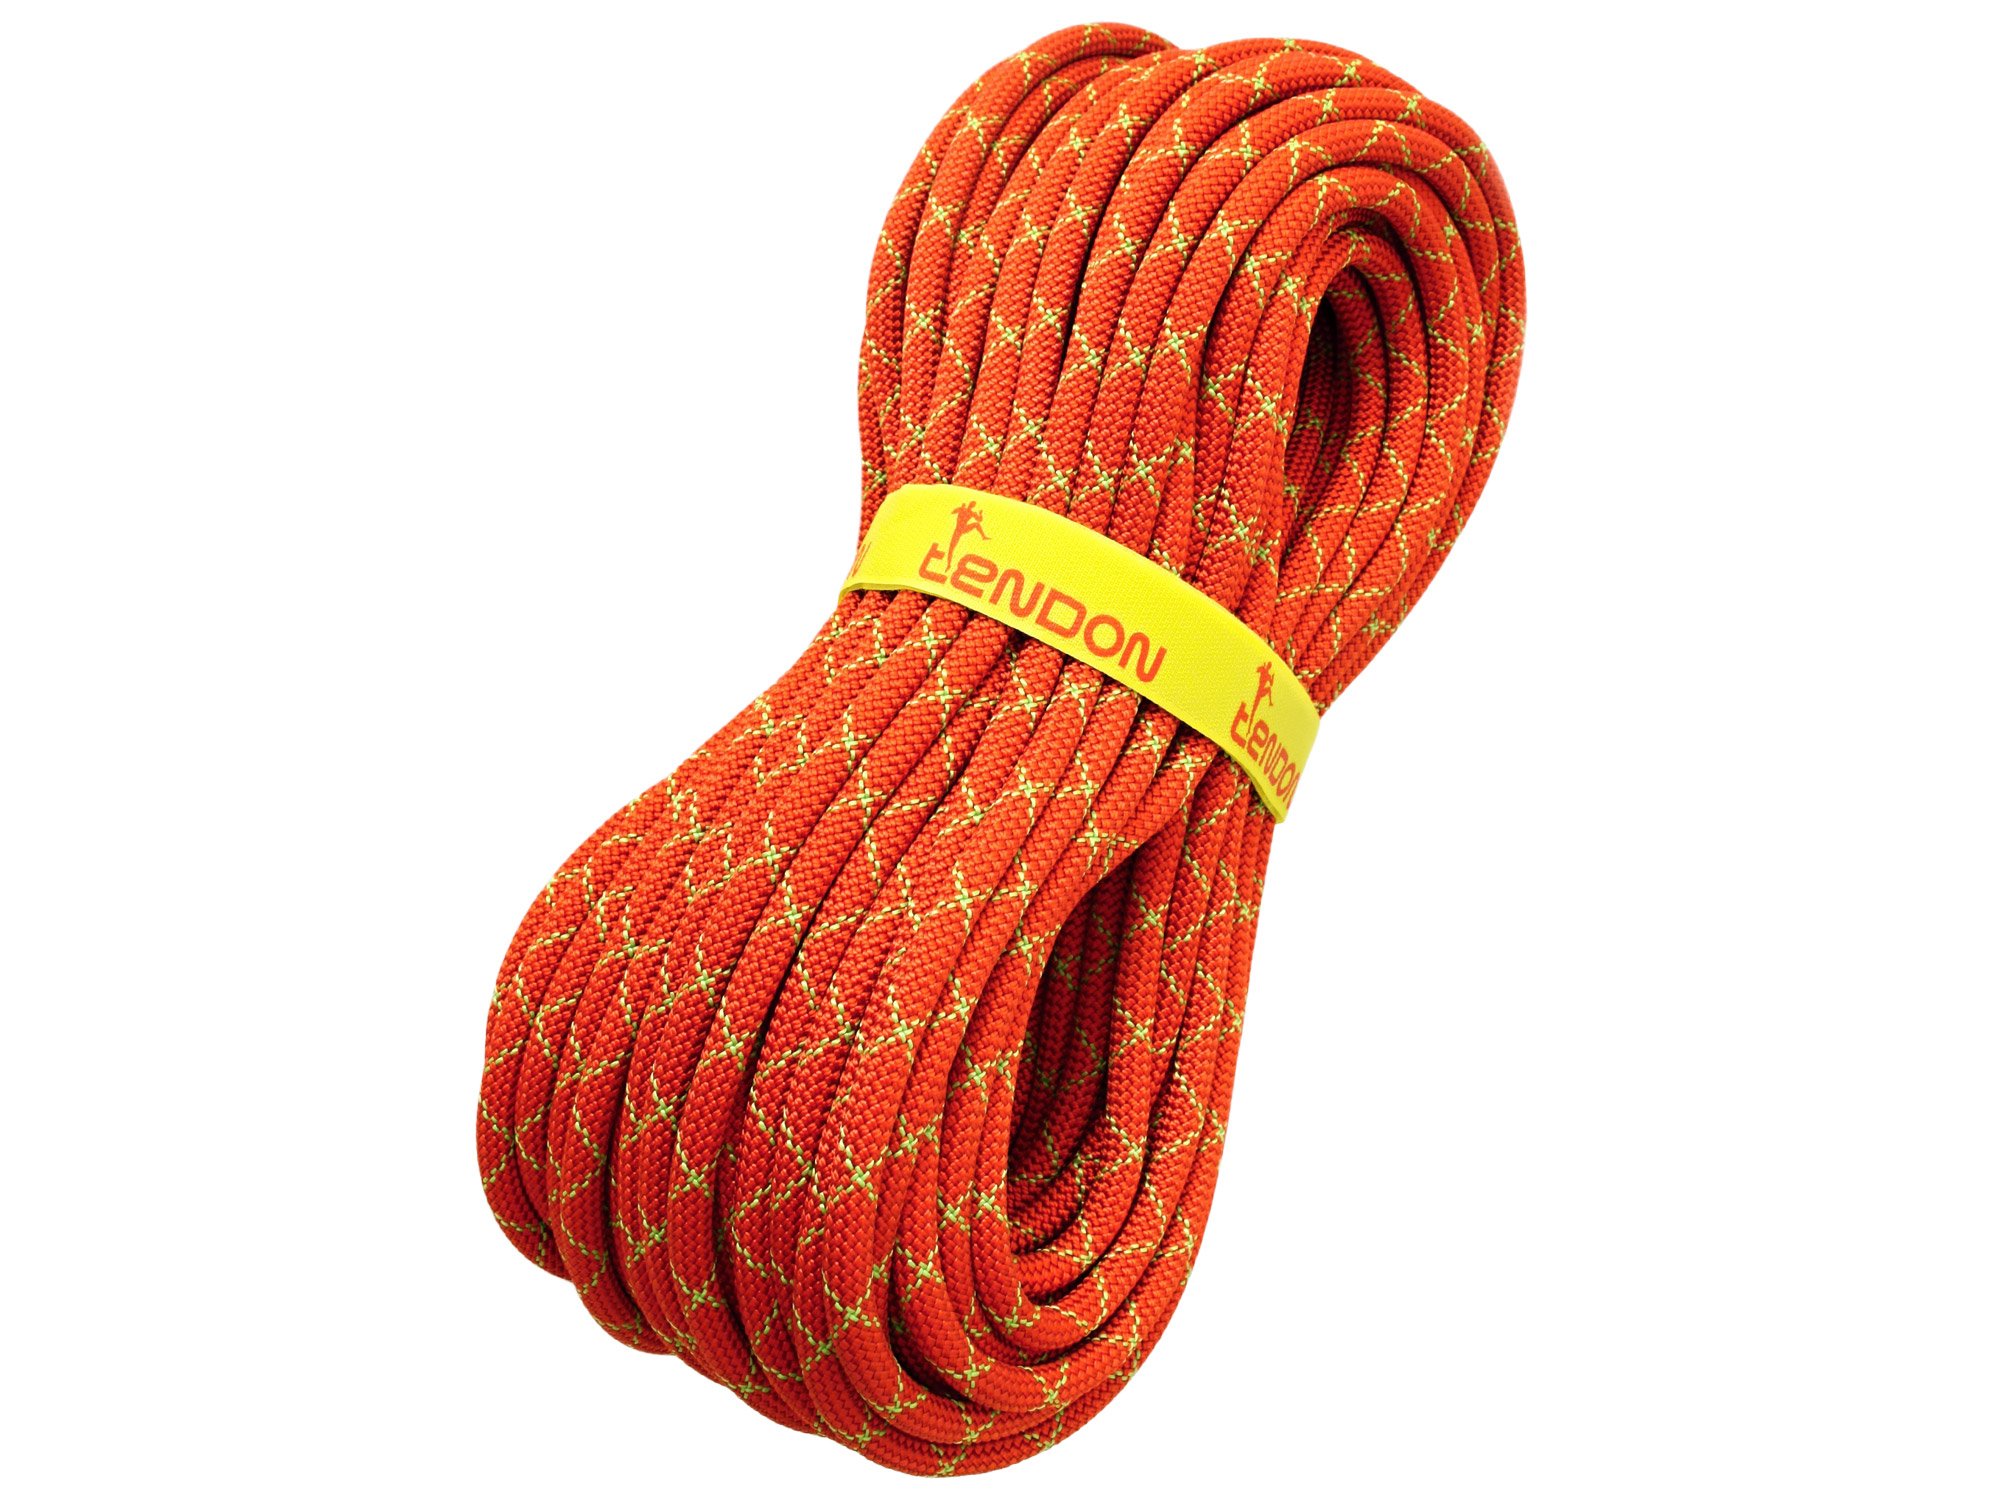
- Rope | Beal 10,2
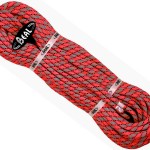
- Rope | Beal 9,7
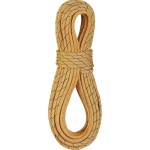
- Rope | Edelrid 9,8
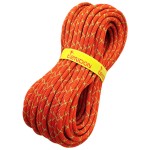
- Rope | Tendon 9,8
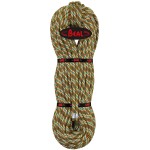
The most basic item in your climbing carrier. As soon as the bouldering heights are no longer enough, you need to get a rope. While 20 years ago a rope was a rope, more or less, today this field has also been diversified to a staggering degree. Not only in diameter but also in design and structure. For climbing indoors, you should go for a 50m rope, that should suffice. Diameter is not really important as weight doesn’t play a role. Outdoor sport climbing often requires a rope around 70m in some areas even longer. Some of the newer Kalymnian routes are around 40m, so an 80m rope is required. As soon as you go beyond 60m every mm in diameter counts in weight, so go for the thinner ropes. I do not comment on alpine climbing or double ropes here.
What I would suggest is you go for a rope that also has bi-coloring, meaning one half of the rope has a different color than the other one. This makes it much easier if you are above 30m and need to abseil you do not see the ends of the rope potentially, but you can always be sure you catched the middle of the rope, due to the different coloring.
More under: Bergfreunde.de -
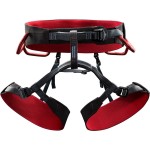
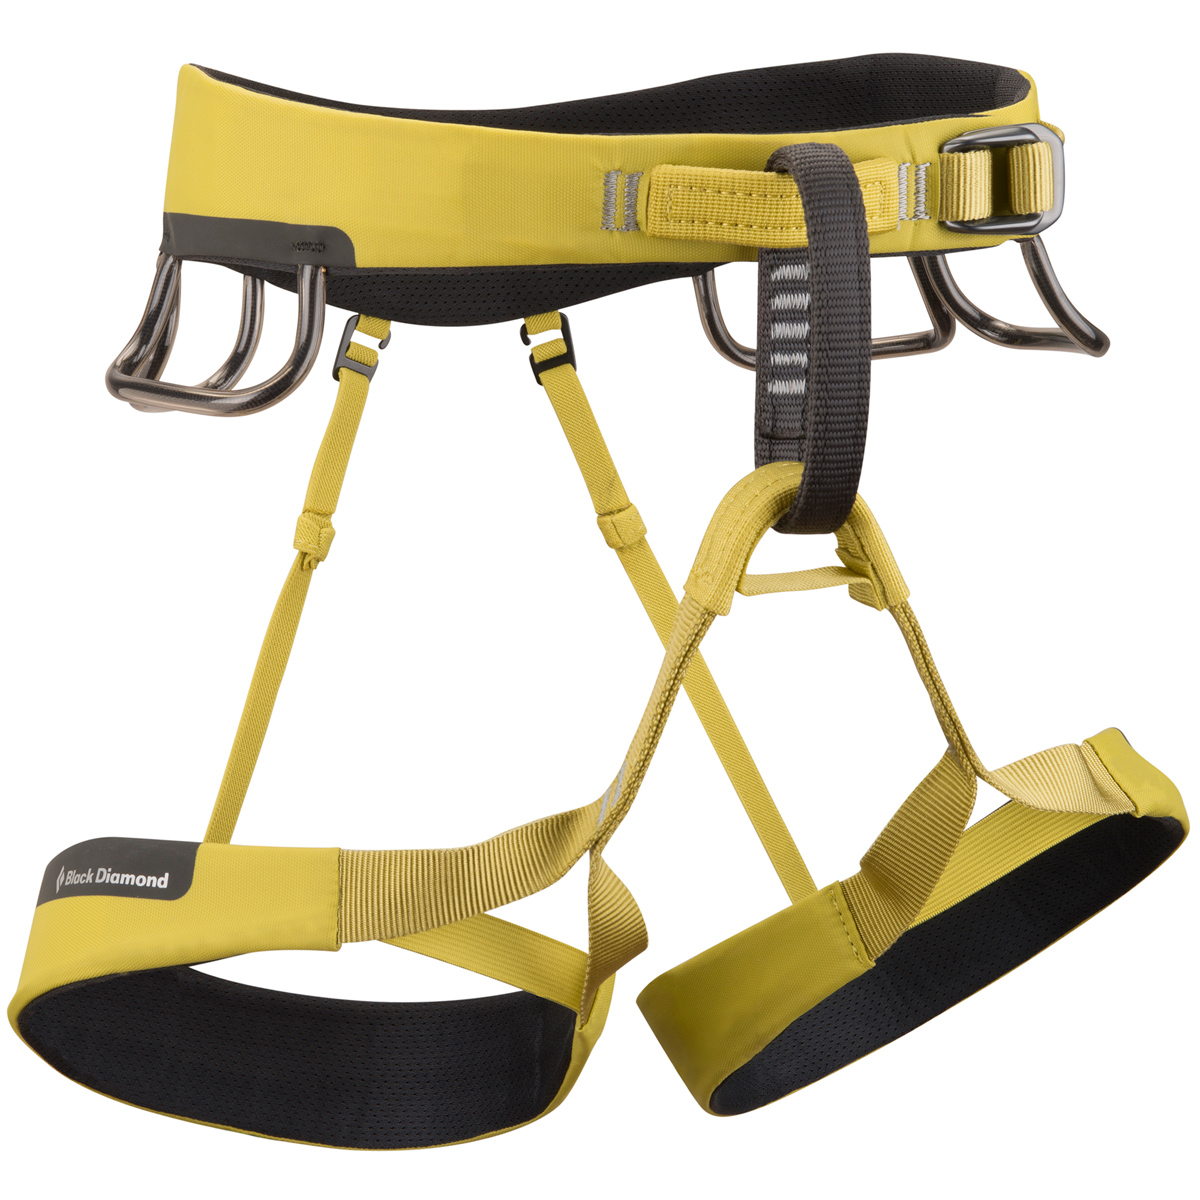
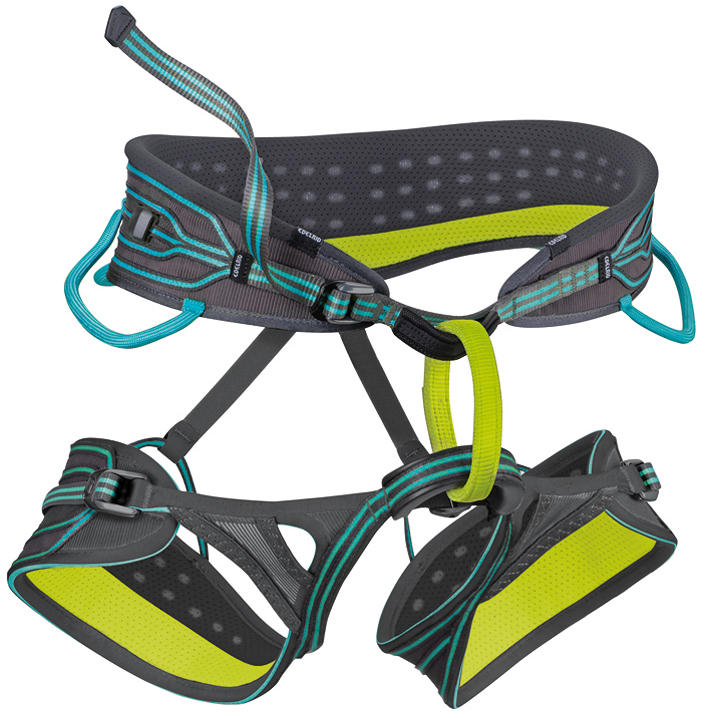
- Harness | Arcteryx
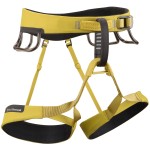
- Harness | Black Diamond
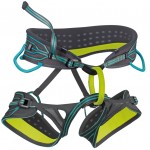
- Harness | Edelrid
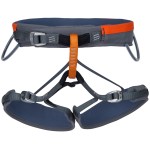
- Harness | Wild Country
The harness should be the part of your equipment together with your shoes that should not be bought cheap. In any case the harness is your connection and last resort of safety. The development on the harness front is equally advanced as on the rope front. For your first hareness it’s key that you test it in store. Never buy a harness without having tested it thoroughly. Testing in store means fixing it to the wall and sitting in it just as you would sit in it at a belay station. Additionally try jumping in it even if it’s just for 10cm. It is not enough if the shop assistant pulls on the harness. Actually there is no definite answer which harness to choose, it is completely subjective. Lightness on the harness is not really a topic unless you climb above 8a I suppose. I personally prefer a smaller, less protected waist and lighter design, but my wife focuses on higher comfort, well padded waist and tight security linings. If you have above or below average tight size, you should make sure that the tights of the harness are adjustable. They need to be a good fit, but not really tight. Also check the closing mechanism around the waist, you should feel very comfortable and be able to easily handle it under stress. If it feels unatural to you, you will not be able to handle it correctly under stress. An easy mechanism is not necessarily the best, again, test it!
A good harness can already start at around 50€ and cost up to 150€ and more.
More under: Bergzeit.de -
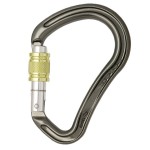
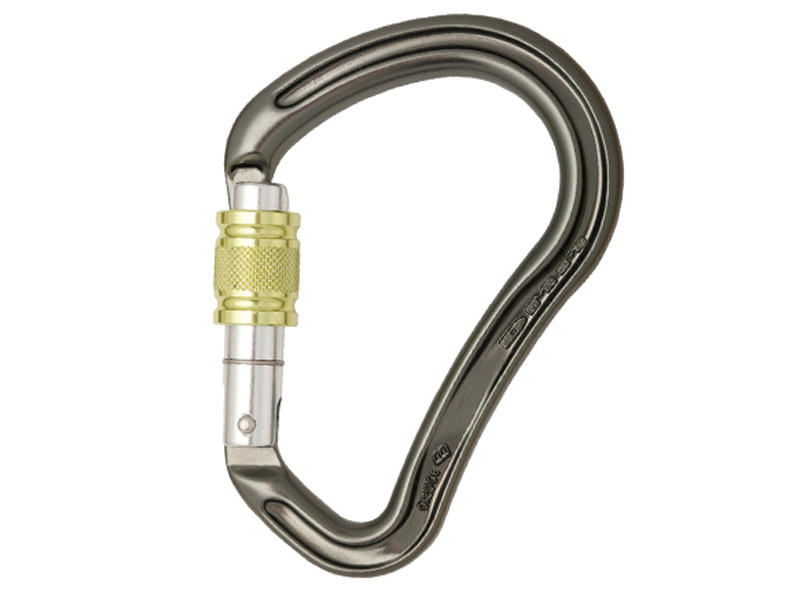
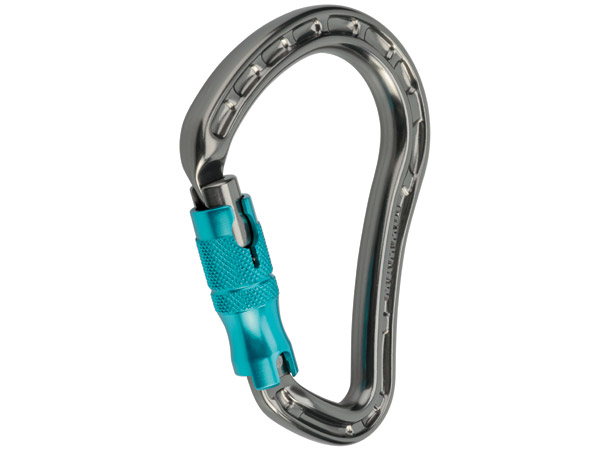
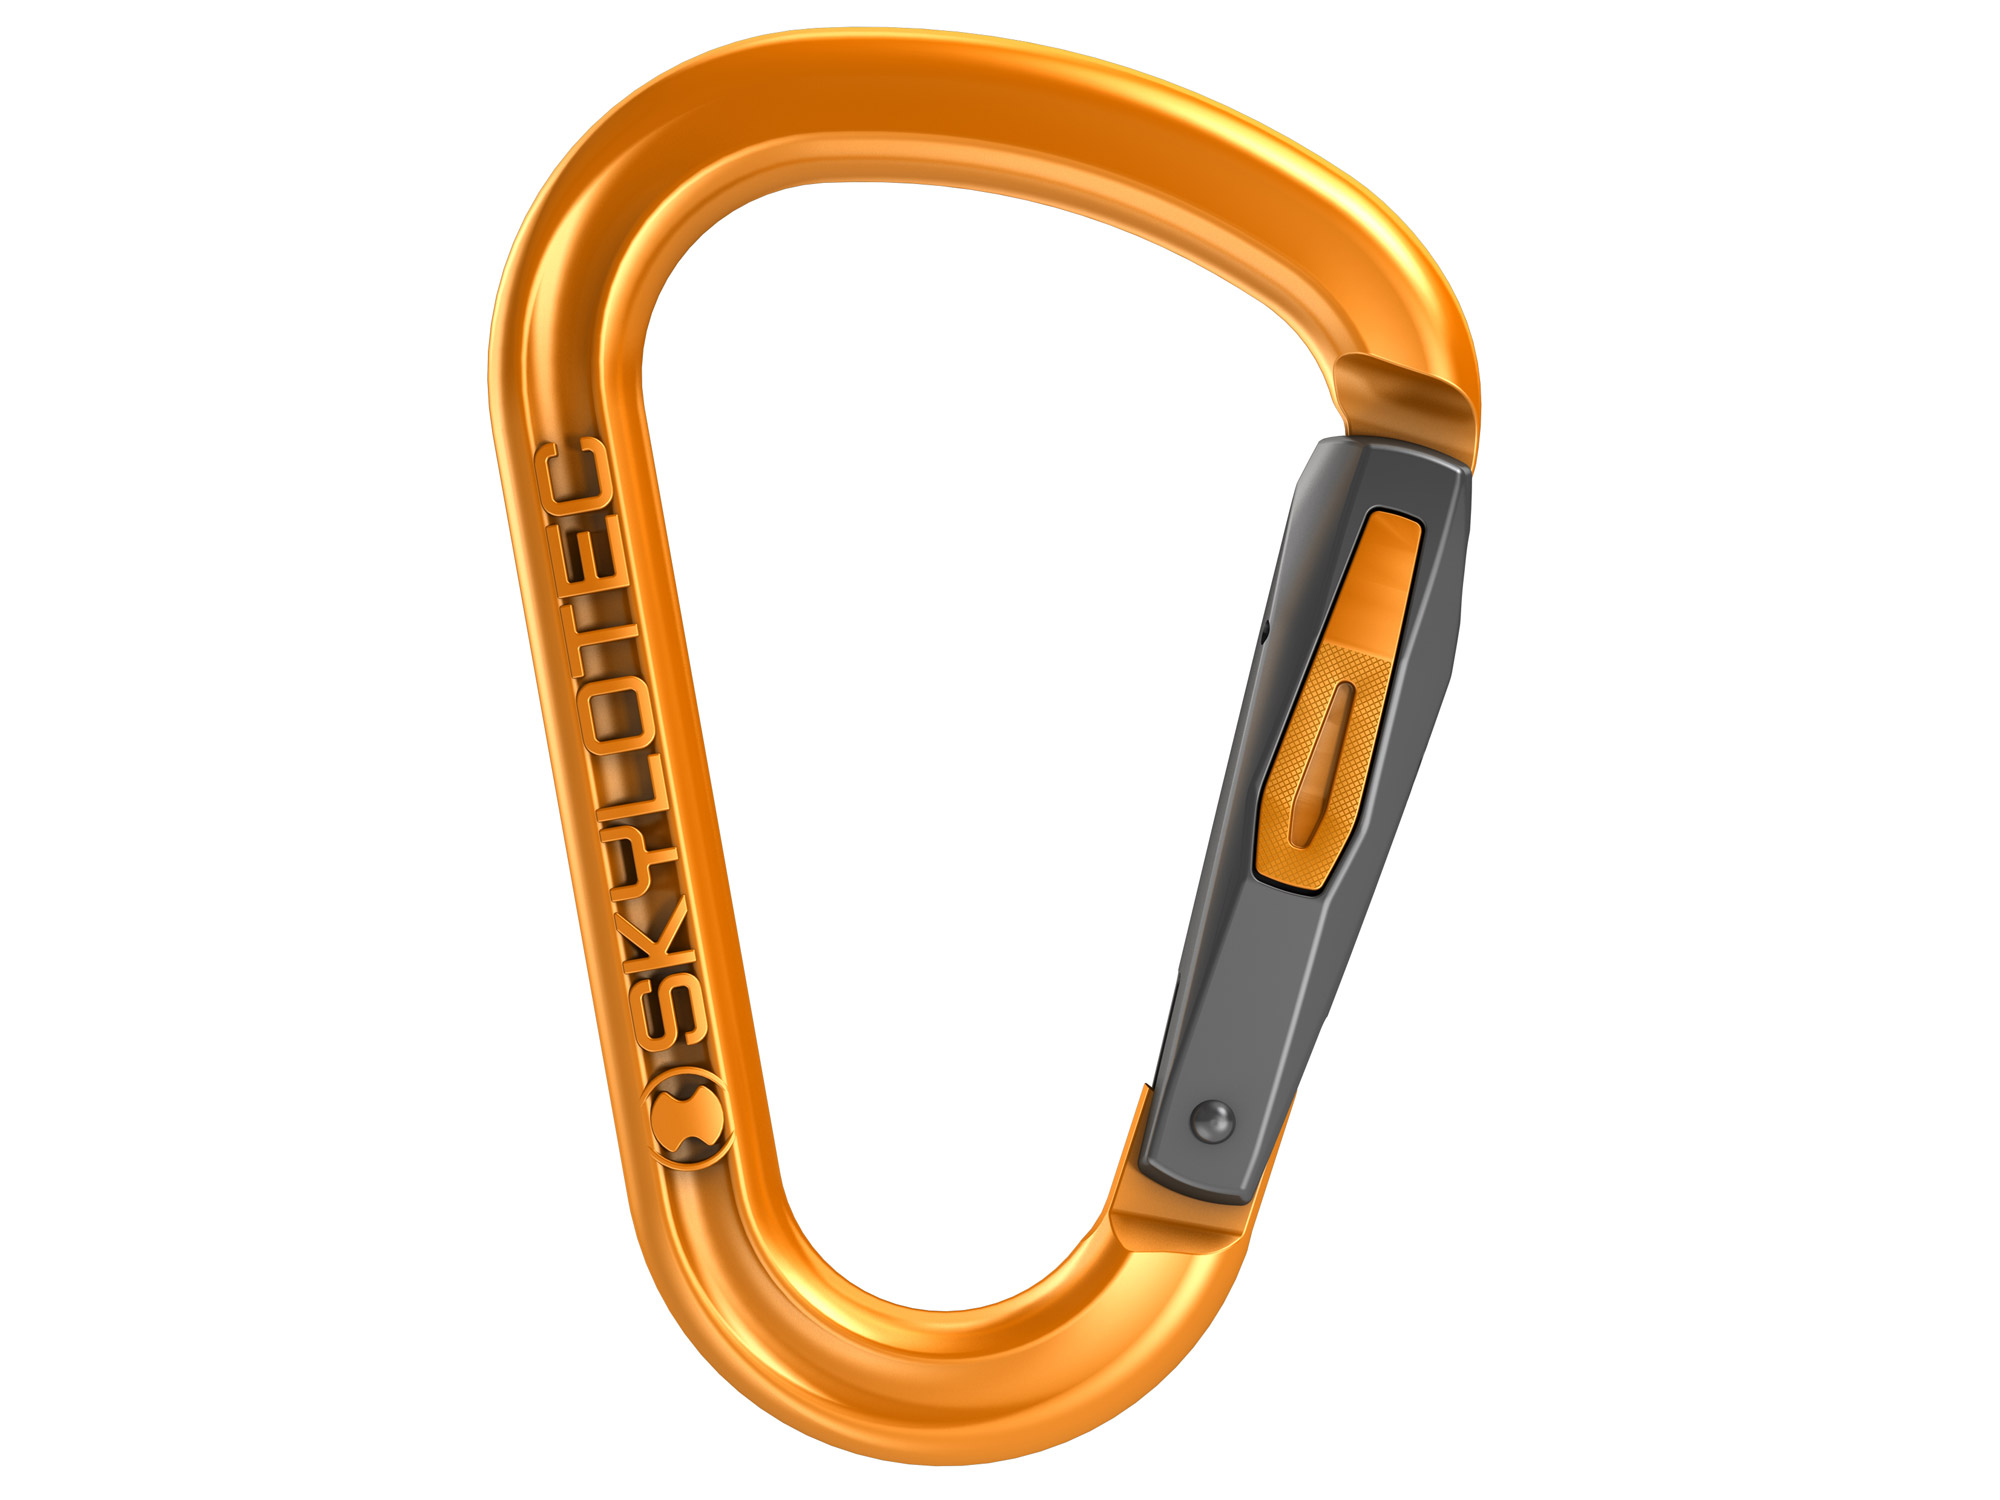
- HMS | DMM – BigBoa
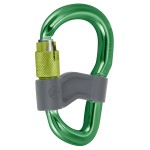
- HMS | Mammut – CragSmart
- HMS | Mammut – Bionic
- HMS | Skylotec – PinchLockII
The locking carabiner is the most versatile security equipment. It can be used for belaying, abseiling, toproping, building a belay station or in the odd case replace a quickdraw if needed. The difference to the carabiners you use for the quickdraws is the stability, the size and the locking mechanism. Today there are tons of different mechanism: simple screw locks (BigBoa above), ball locks, twist locks (Bionic above), pinch locks (Skylotec above), and dozend others. Important is: can you handle them with 1 hand, if you use it for abseiling, building a toprope, building a belay station or for your belay station sling in general. If you use it for belaying it might make sense to go for the ones that have an additional stabilizer, that fixes the carabiner in a certain position (see Mammut Crag Smart, above). Do not buy cheap as usual. Price is mostly a sign of manufacturing quality here. You should not built your life on quicksand or make it dependent on a cheap HMS.
More under: Bergfreunde.de -
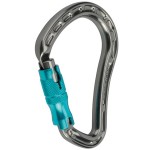
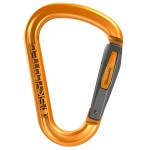
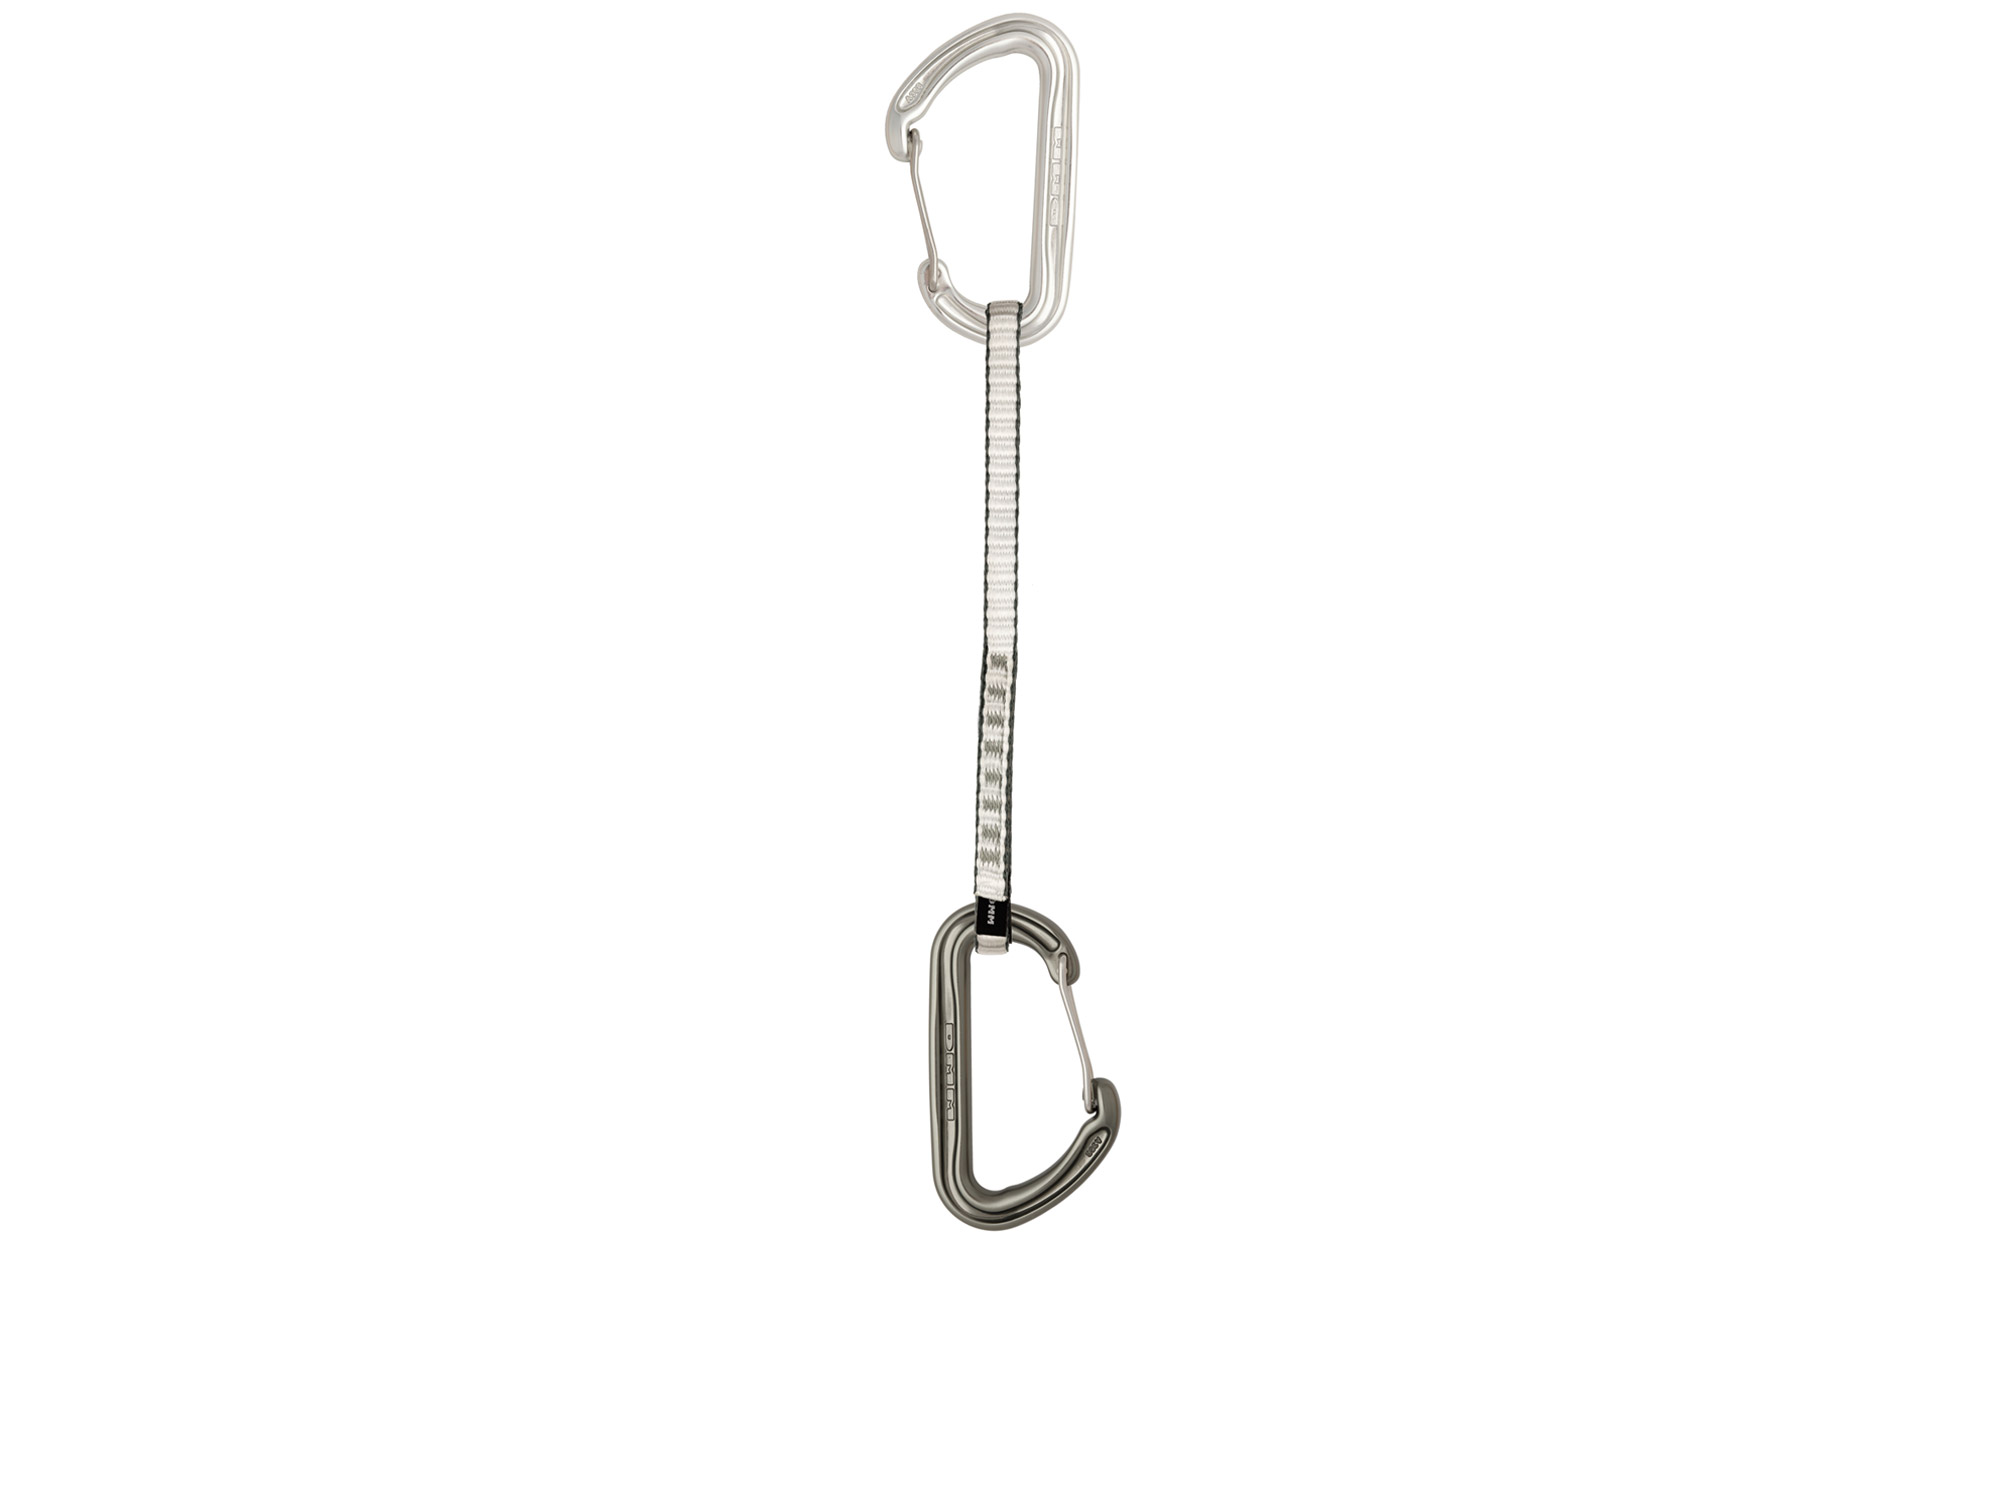
- Quickdraw | AustriAlpin -RockIt
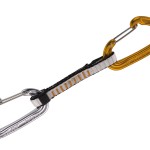
- Quickdraw | Camp – Nano23
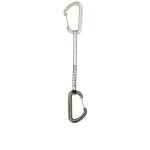
- Quickdraw | DMM – Spectre2
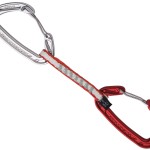
- Quickdraw | WildCountry – Helium
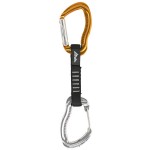
Quickdraws are the basic variable protection needed to protect routes. The setup is very simple: 2 non-closable carabiners connected by a sling, usually dyneema or nylon webbing. The difference in price usually stems from the difference in weight of the carabiners and usually the overall weight of the set. There are only a few things if you are a beginner to watch out for.
Carabiners:
take a look at the snapper and the end of the carabiner where the two interlock. If you can feel sharp edges do NOT buy the stuff, it reeks of low quality and is a danger when climbing. If the quickdraw doesn’t fully close the sharp edges can, in an extreme scenario, cut into the rope and worst case: you end without a rope and pretty dead on the ground.
Slings:you cannot really judge the quality of the sling itself, key however is the section where the sling connects to the carabiner. I’m a big fan of integrated fixings the danger of making deadly mistakes (e.g. the mistake of Tito Traversa). With integrated fixes you simply cannot hang the carabiners in the wrong way. And yes, integrated fixes are more expensive, but I would always prefer them! And make sure in any case that the fixed carabiner is on the rope end NOT the rock.
You will need to vary the length of the sling a bit. Get at least 12 carabiners with a standard sling length of around 10-11cm and at least 4 with a longer sling. This is not important for pure sport climbing areas, but in areas where you need to protect yourself this comes in handy.
More under: Bergfreunde.de -
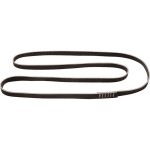
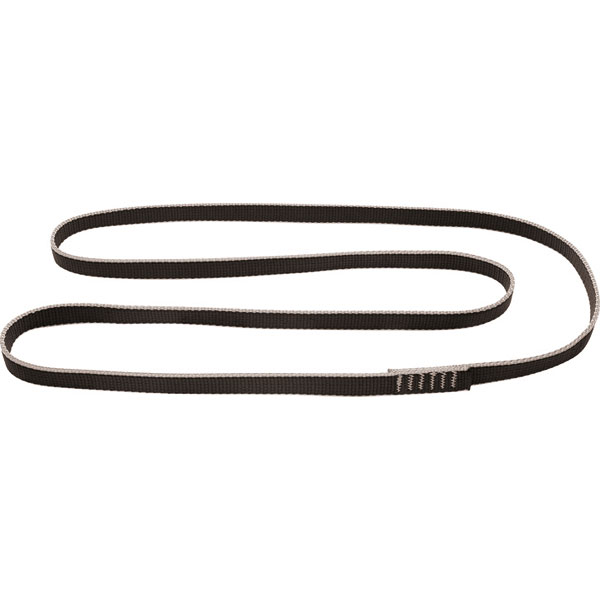
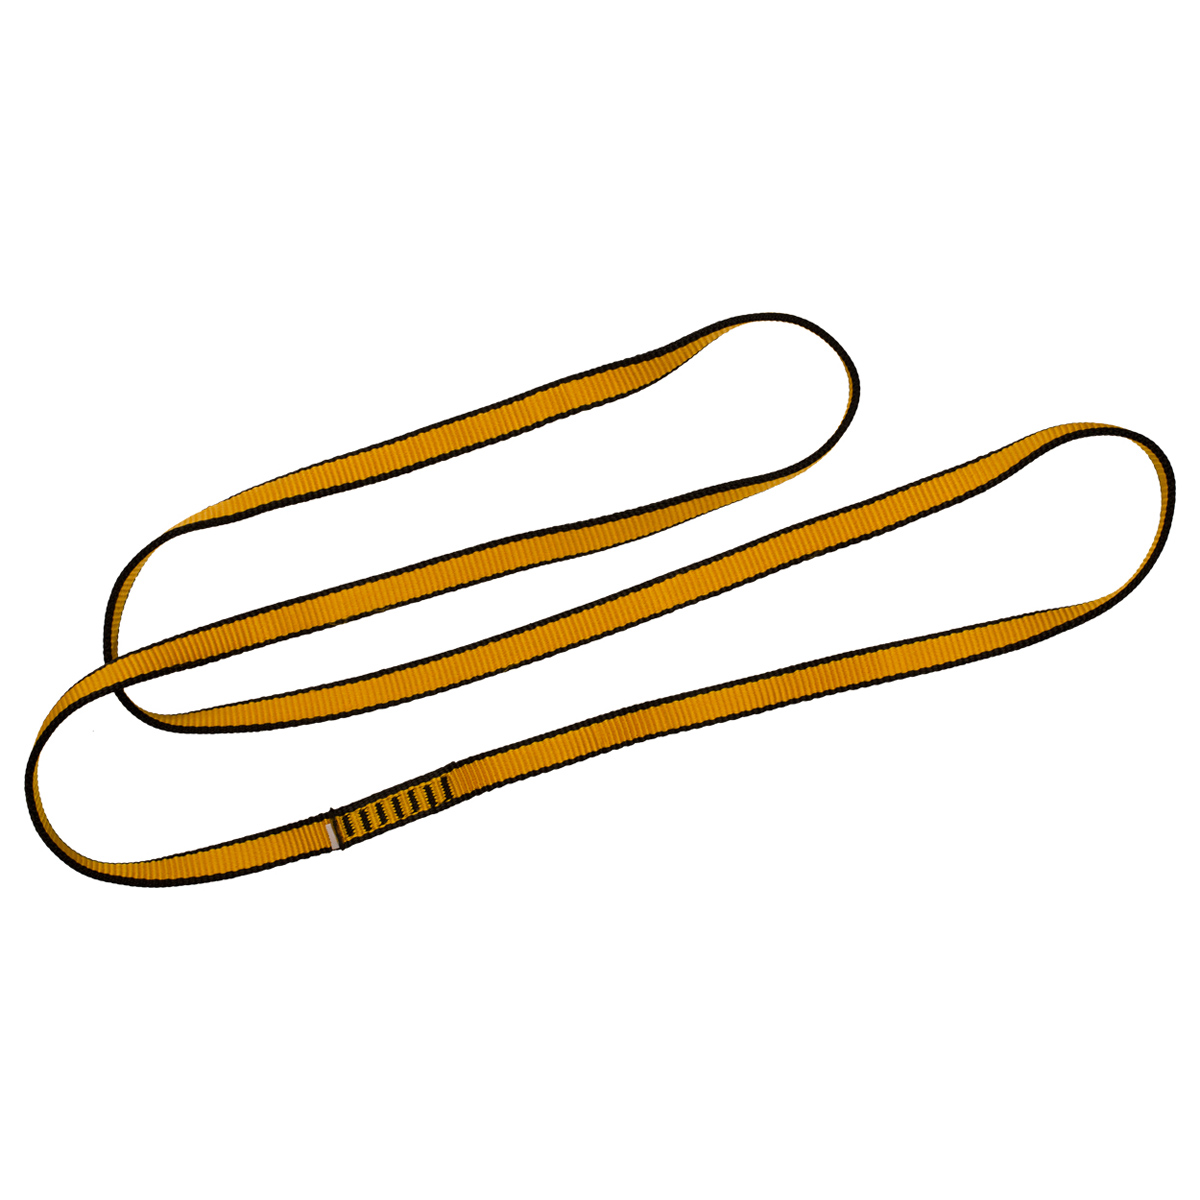
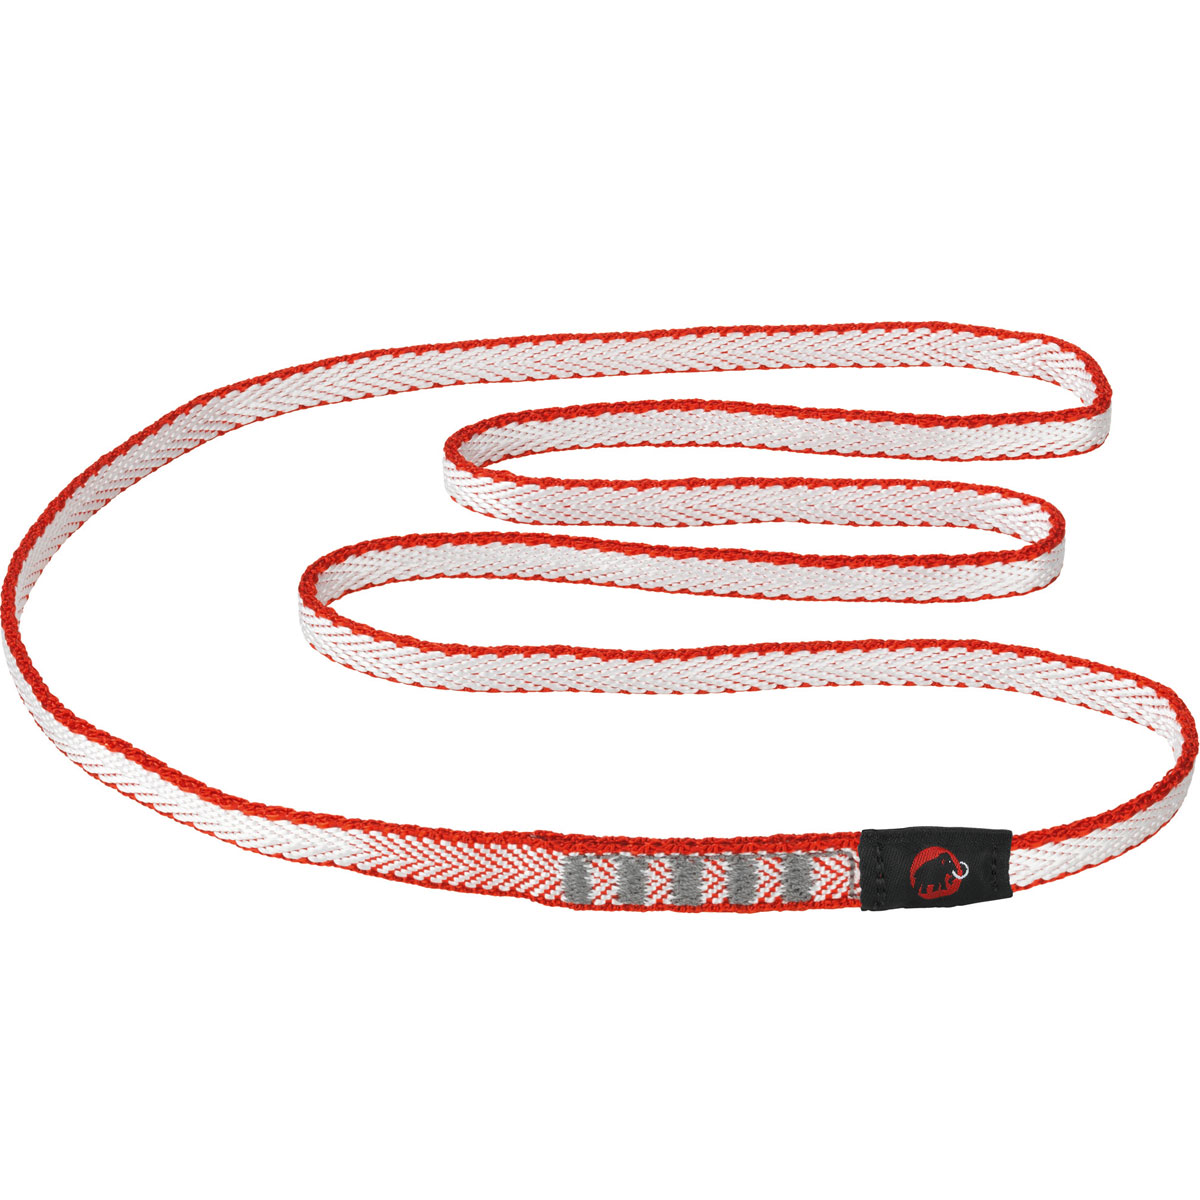
- Sling Edelrid – 16mm

- Sling LACD – 16mm
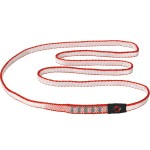
- Sling Mammut – 8mm
This sounds boring, but climbing outside a sling (at least one) is a must. You will use it to connect your hareness with an HMS as your primary belay station safety or also in the route, when you simply want to relax and not put the whole strain on your belay partner. For the beginning ONE sling is enough, 60cm should suffice. In a second step get an 80cm and a 120cm and when you climb in traditional areas such as the Palatina or Elbsandstein in Eastern Germany, get several from each of the above, as they will be your primary protection instead of any non existing anchors. In that case you will use the sling to fiddle through holes in the rock, hook them over little ledges or wiggle them around trees at the top or in the route to provide you with a security point. The length of the sling for the beginning should be tested in-store. 60cm sling means if you are building a belay station you hang pretty close to the rock and have limited room for maneuvre, the contrary applies to the 120m sling. you might be too far from the anchor. So I would opt for the 80cm. And that has an added benefit: if there is more than one climber at the belay station and all have a 60cm sling, it can get very comfy!


These basics are enough if you are climbing indoors or in areas where the routes are well protected and additional protection in the routes is not needed. Helmets, although under Advanced should ALWAYS be used when climbing outdoors, nevermind how safe the area or the route looks!
Climbing – Advanced
Advanced means not needed for climbing indoors. You need most of the stuff below when climbing outdoors in most areas. It cannot hurt having some hexentrix, nuts, friends and other variable protection with you just in case you feel insecure in a route and would like to add some protection to the fixed rings or bolts in a route. Even in the best protected area you will need some tools to protect you if you have or want to train alone without a partner and don’t want to boulder. There is tons of more usefull equipment, but this is the sheer basics you definitely need. (… soon MORE!)
If you need any info on a particular brand or problem, please just use the comment function or send me a message!